
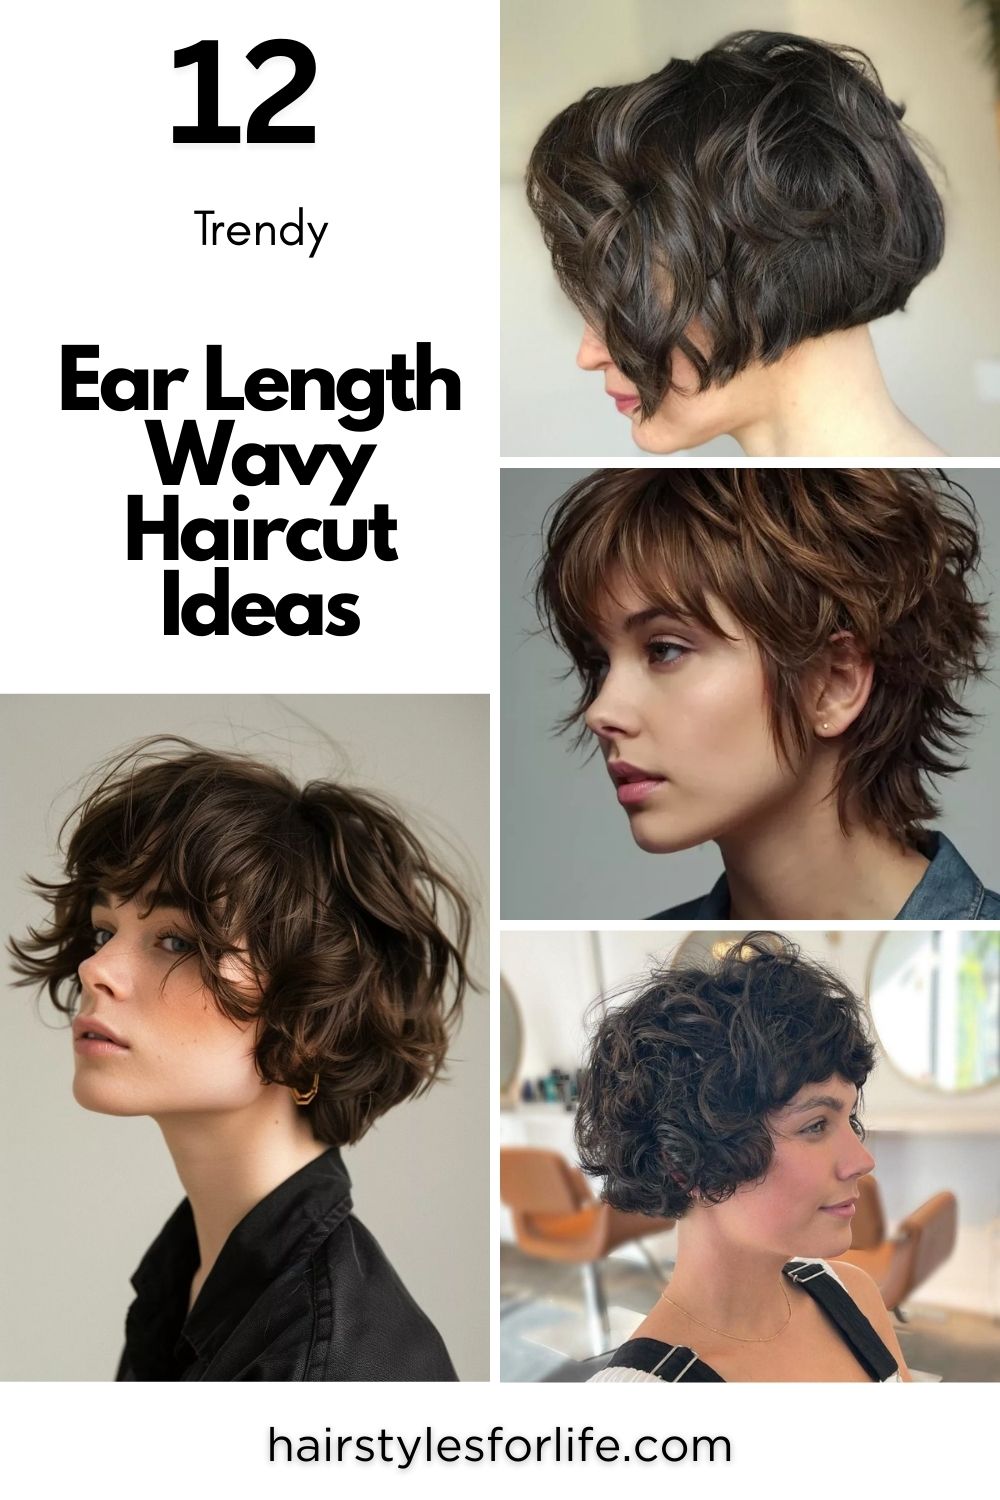
I still remember the day I chopped my hair short on a total whim. No big plan, no Pinterest board—just that I need a change feeling. And honestly? An Ear Length Wavy Haircut turned out to be exactly what I didn’t know I needed. If you’ve ever felt bored with long hair, tired of endless styling, or stuck between wanting short hair but not too short… yeah, same. This haircut lives right in that sweet spot.
Wavy hair at ear length has this effortless, slightly undone vibe that feels cool without trying too hard. Some days it behaves, some days it does its own thing—and that’s kind of the charm, right? If you’ve struggled with waves looking flat, puffy, or just “meh,” this style can actually work with your texture instead of fighting it.
In this article, I’ll walk you through why this haircut works, who it suits best, and how to style it without stress. Simple, real advice—no fluff.
Ear Length Wavy Haircut Ideas
An ear length wavy haircut is perfect if you want a short style that looks fresh, stylish, and effortless. The soft waves add natural volume and texture, making this cut easy to manage and super flattering.
Wavy Pixie Cut
I’ve always had a soft spot for a wavy pixie cut, especially when it sits right around ear length. Honestly, this is one of those haircuts that looks effortless but still feels styled. I remember the first time I went this short, I was nervous, but the waves saved everything. They add softness where a pixie can sometimes feel too sharp. In my opinion, this cut works best when you don’t overthink it. Let the waves fall where they want, and that’s where the magic is.
To get this right, I’ve found that asking for subtle layers is key. Not choppy, not blunt—just enough to let your natural wave pattern show up. Styling-wise, I usually scrunch in a light mousse on damp hair and let it air dry. To be fair, some days it looks better than others, but that slightly undone vibe is kind of the point with an ear length wavy haircut like this.
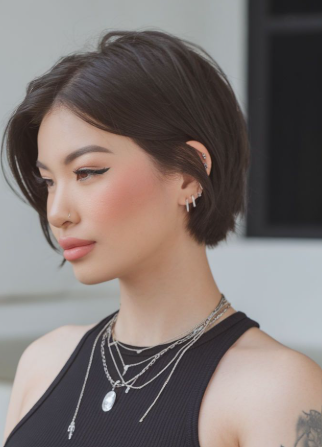
Soft Ear Length Wavy Bob
The soft ear length wavy bob is my go-to recommendation when someone wants short hair but still wants to feel “pretty” and not too edgy. I’ve worn this style during phases when I wanted low effort but still needed my hair to look polished for work. The waves soften the bob so it doesn’t look boxy, which is a common fear with short cuts.
If you’re trying this, I’d say keep the ends slightly rounded and not razor-sharp. I usually style it with a round brush just at the front and let the rest do its thing. Honestly, this haircut grows out beautifully, which is a huge win. In my experience, it flatters most face shapes and works especially well if your waves are loose to medium. It’s simple, wearable, and very forgiving.
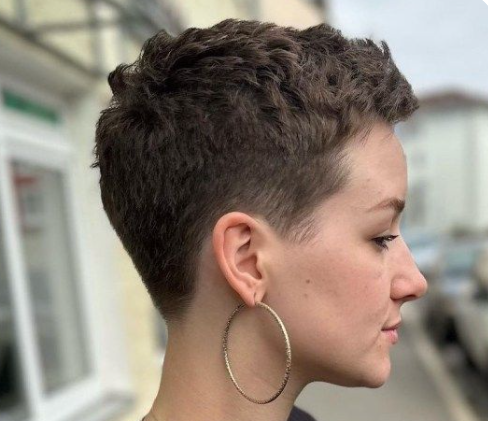
Textured Wavy Crop
A textured wavy crop is for those days when you want your hair to have attitude without screaming for attention. I tried this cut during a “let’s change everything” moment, and I loved how lived-in it felt. The texture keeps it from looking flat, especially when your hair is ear length and can easily lose volume.
To make this work, I always suggest asking your stylist to focus on internal layering. That’s what creates movement. I usually rough-dry my hair with my fingers, flip it around a bit, and finish with a tiny bit of wax. To be fair, this style looks best when it’s a little messy. If you’re someone who hates perfect hair, this ear length wavy haircut will probably feel very you.
Side-Parted Ear Length Waves
Side-parted ear length waves are one of those styles that quietly change your whole look. I switched my part on a whim once, and suddenly my haircut felt brand new. The side part adds instant volume and makes waves look more intentional, even on lazy hair days.
I’ve found that this style works especially well if you have finer hair. The side part creates lift at the roots without much effort. I usually dry my hair in the opposite direction of my part, then flip it back. Honestly, that trick alone makes a huge difference. In my opinion, this is one of the easiest ways to refresh an ear length wavy haircut without touching the scissors.
Layered Wavy Pixie
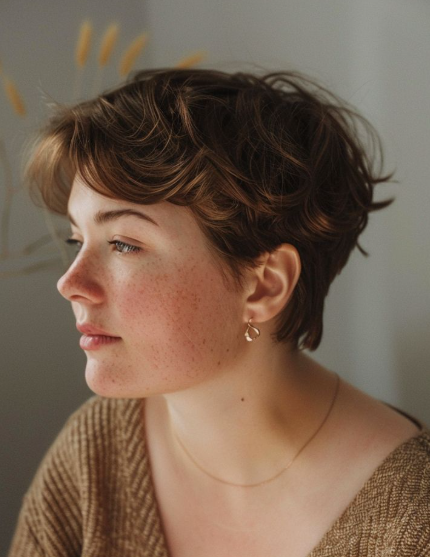
A layered wavy pixie is where short hair meets personality. I love this cut because it never looks flat or boring. The layers give your waves room to breathe, which is so important when your hair is cropped around the ears.
When I style this, I focus on definition rather than volume. A curl cream works better than mousse here, at least for me. I scrunch, let it air dry, and resist the urge to touch it too much. To be fair, this cut does need trims to stay sharp, but the payoff is worth it. If you like expressive, slightly playful hair, this ear length wavy haircut is a solid choice.
Tousled Ear Length Waves
Tousled ear length waves are basically my everyday hair mood. This is the kind of style that looks better the less you try. I’ve worn this look on rushed mornings and still gotten compliments, which says a lot.
The trick, I’ve found, is not overloading your hair with products. A bit of sea salt spray on damp hair and a quick scrunch usually does it. Sometimes I diffuse, sometimes I don’t. Honestly, inconsistency is part of the charm here. This ear length wavy haircut feels relaxed and modern, perfect if you want something stylish but not high-maintenance.
Messy Wavy Micro Bob
The messy wavy micro bob is bold, but in a very wearable way. The first time I saw this cut, I thought it might be too short, but once I tried it, I got it. The waves keep it from looking severe, which is important at ear length.
I usually style this by air drying and then lightly bending a few pieces with a curling wand. Not all of them, just some. To be fair, symmetry is overrated with this look. In my opinion, the charm is in the uneven, slightly chaotic finish. If you like fashion-forward hair without spending hours styling, this ear length wavy haircut is worth considering.
Feathered Wavy Cut
A feathered wavy cut has a softness that I really appreciate, especially as hair gets shorter. The feathering around the ears and nape makes the haircut feel light and flowy rather than heavy.
When I had this style, I noticed how nicely it framed my face. I’ve found that blow-drying with a small round brush just at the ends helps enhance that feathered effect. Honestly, it’s one of those cuts that looks styled even when it’s not. This ear length wavy haircut is great if you want something gentle, flattering, and easy to live with.
Choppy Ear Length Waves
Choppy ear length waves are perfect if you want texture you can actually see. I love this style when I’m bored of soft, blended cuts. The choppiness adds edge without going full punk.
I usually recommend a razor or point-cutting technique for this look. Styling-wise, a matte paste works wonders. I warm it up in my hands and just tap it into the ends. To be fair, this haircut has a bit of a rebellious feel, but that’s exactly why I like it. It gives an ear length wavy haircut more personality and depth.
Classic Short Wavy Cut
The classic short wavy cut is proof that timeless doesn’t mean boring. I’ve come back to this style more than once because it just works. The length hits right at the ears, the waves are natural, and the shape is clean.
I usually keep styling minimal here. A light cream, a quick scrunch, and I’m done. In my opinion, this cut shines when it’s simple. It suits almost every lifestyle and doesn’t demand much upkeep. If you’re unsure where to start with an ear length wavy haircut, this classic option is always a safe and stylish place to land.
Styling Tips for Ear Length Wavy Haircut
Styling an ear length wavy haircut is all about working with your natural texture instead of fighting it. With the right techniques and a few good products, you can keep your waves soft, defined, and full of life every day.
How to enhance natural waves
-
Style hair when it’s slightly damp to help waves form better
-
Scrunch gently with your hands instead of brushing
-
Let hair air-dry or use a diffuser for a natural finish
Products to define waves
-
Use a lightweight curl cream or wave-enhancing mousse
-
Avoid heavy gels that can make short hair stiff
-
Finish with a small amount of serum to control frizz and add shine
Heat vs heat-free styling tips
-
For heat styling, use a small curling iron and always apply heat protectant
-
For heat-free styling, twist damp hair and let it dry naturally
-
Choose heat-free methods often to keep hair healthy and damage-free

Hi, I’m Anna Spencer, A professional hairstylist based in North Carolina and the creator of Hairstyles for Life. With over a decade of hands-on salon experience, I’ve styled everything from everyday looks to runway-ready transformations. I started this website to share my passion for hair, offer expert tips, and help you feel confident in your personal style no matter your hair type or length. Whether you’re looking for quick tutorials, timeless trends, or honest product advice, you’ll find it all here.